
Quick answer
Retail kits and professional systems can both use two-component resin chemistry, but the project scope is often very different. A kit may include cleaner, etch, one coat, and decorative chips. A professional installation may include grinding, edge work, repairs, primer or base coat, full flake broadcast, scraping, vacuuming, and one or more topcoats.
The biggest difference is usually the complete process, not the word epoxy
Retail kits and professional systems can both use two-component resin chemistry, but the project scope is often very different. A kit may include cleaner, etch, one coat, and decorative chips. A professional installation may include grinding, edge work, repairs, primer or base coat, full flake broadcast, scraping, vacuuming, and one or more topcoats.
Homeowners should compare preparation, material quantity, layer sequence, and warranty rather than assuming every epoxy product produces the same floor.
DIY can make sense for a clean, simple slab and modest expectations
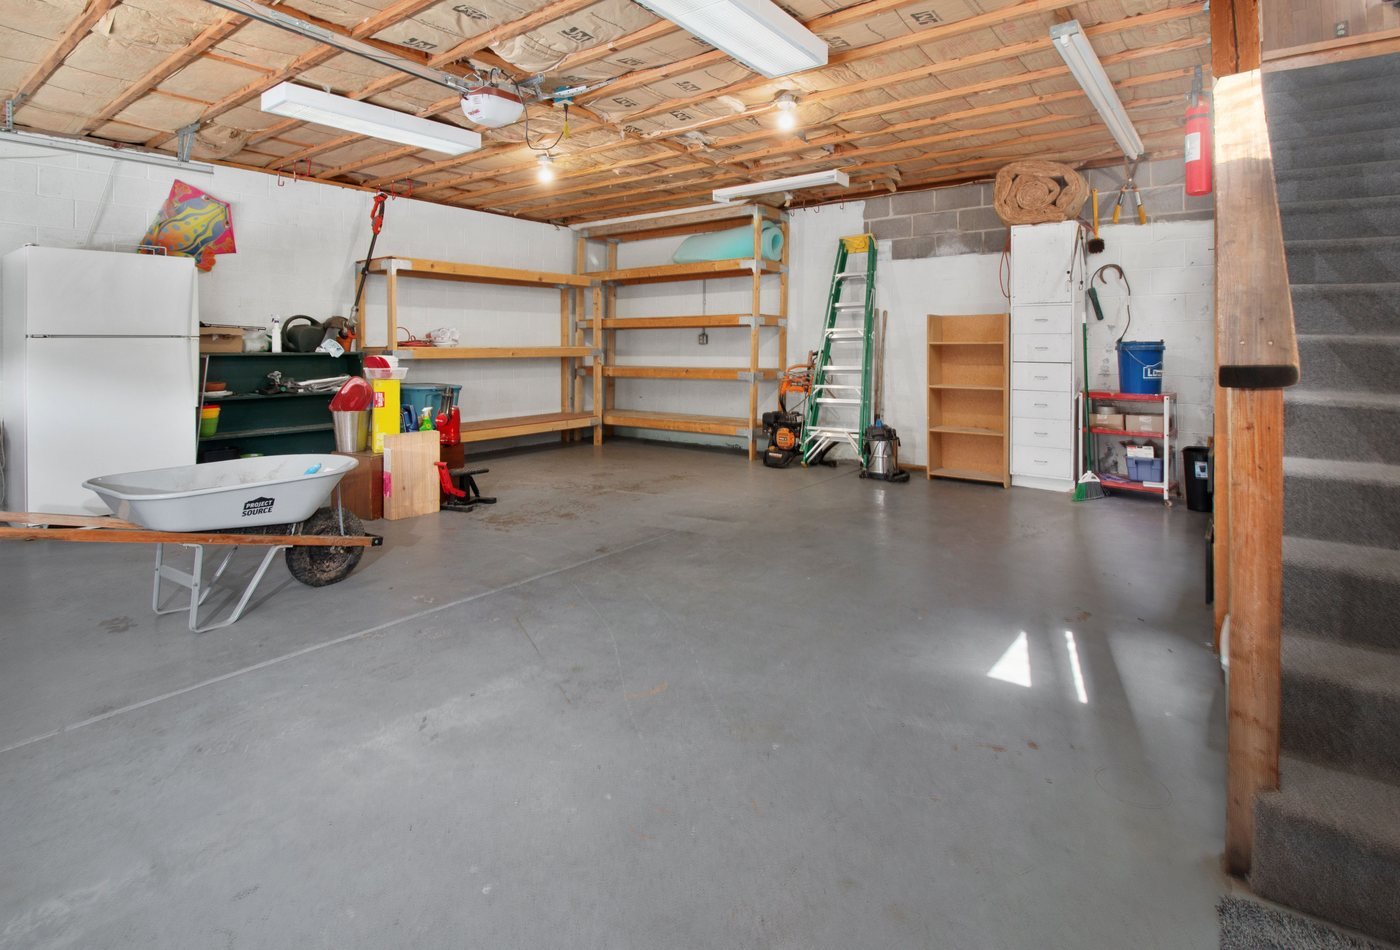
A careful homeowner may get a useful cosmetic improvement on sound, bare concrete by following a reputable kit’s instructions exactly. The garage must be cleared, degreased, prepared, dried, and divided into manageable sections before mixing begins.
DIY is most realistic when there is little contamination, no existing coating, limited repair, good weather, and enough time for preparation. It is less suitable when the slab has peeling paint, moisture concerns, extensive cracks, or a high-value finish expectation.
Professional preparation equipment changes what can be removed
Commercial diamond grinders and HEPA vacuums can remove weak paste, old coatings, sealers, and surface contamination while creating a controlled profile. Handheld tools reach edges and corners. This equipment is expensive, heavy, and requires skill to operate evenly.
DIY etching or rental grinders may be adequate in some situations, but the homeowner must understand tooling, electrical requirements, dust collection, edge work, and disposal. Preparation errors remain hidden beneath the finish until failure occurs.
Concrete repair requires compatible materials and timing
Crack fillers, patch compounds, and resurfacing products differ in flexibility, cure, depth, moisture tolerance, and compatibility with resin coatings. A repair that is still soft or smooth when coated can become the weakest part of the system.
Professionals should select repair products as part of a tested assembly. DIY users need to read both the repair and coating instructions and allow enough time for cure and re-profiling.
Consumer and professional products may differ in solids and film build
Some retail kits are formulated for easier rolling, longer working time, lower odor, and simplified coverage. Professional products may offer higher solids, faster cure, thicker build, or specific abrasion and UV properties, but they also demand stricter mixing and application control.
A thicker film is not automatically better if it is applied outside specifications. The important comparison is whether the material is installed at its designed coverage and combined with compatible layers.
Working time becomes stressful once two components are mixed
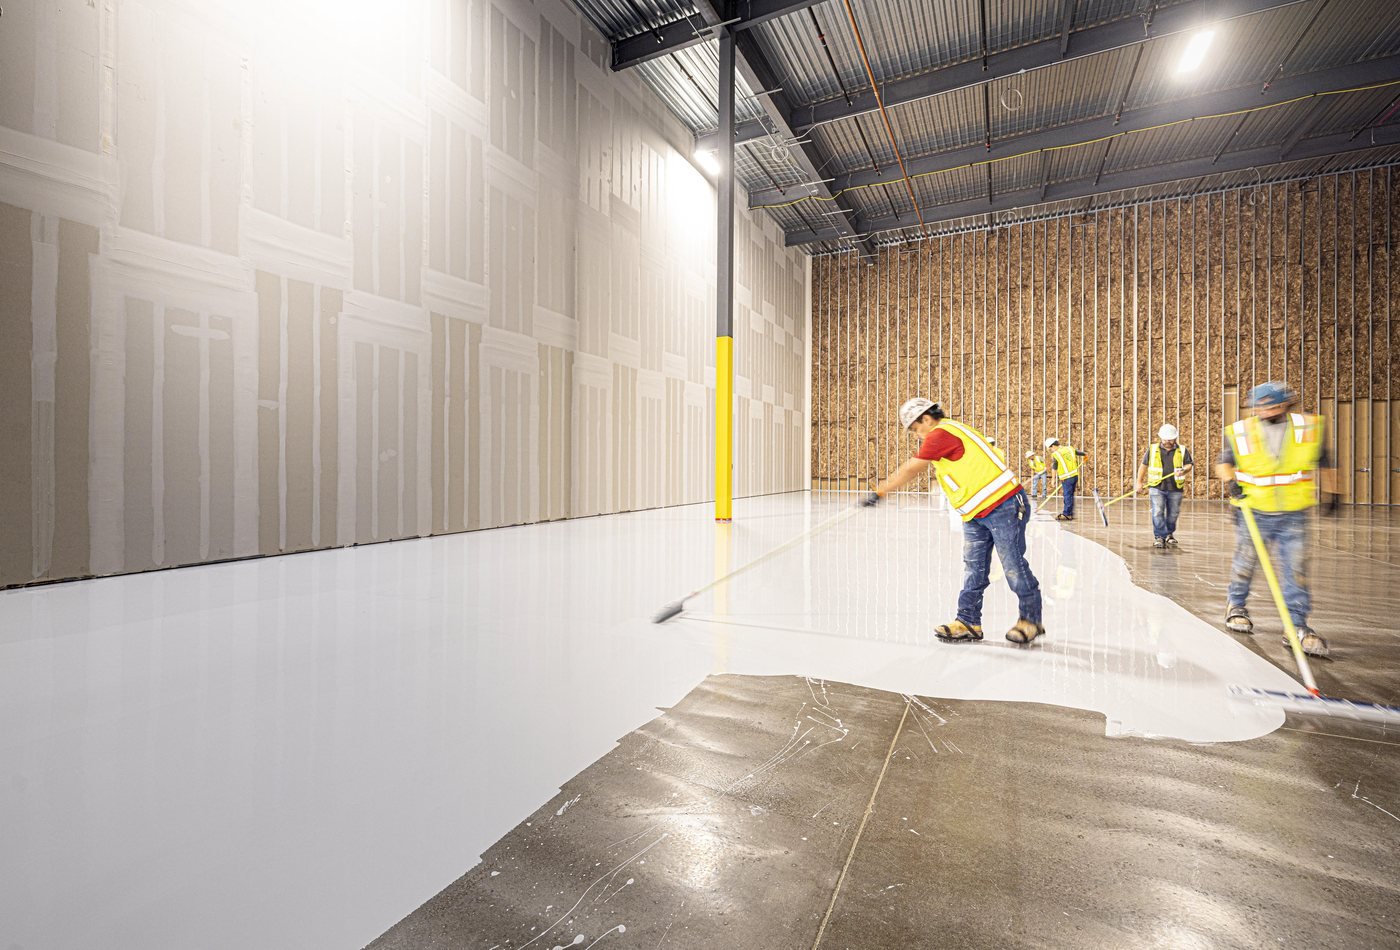
Two-part coatings begin reacting after mixing. The installer has a limited pot life to cut edges, roll the floor, maintain a wet edge, and broadcast chips. Warm temperatures can shorten that time significantly.
A professional crew divides tasks and material batches. A solo homeowner may struggle with a large garage, detailed edges, or a full-flake broadcast. Planning and helpers can make the difference between an even finish and visible lap marks.
Decorative flake coverage is more technical than it looks
Lightly tossing chips from a kit creates a partial decorative effect. A professional full-broadcast system applies flake to refusal, allows the base coat to cure, scrapes the surface, vacuums loose material, and locks it in with a clear coat.
Full broadcast can provide consistent color and texture, but it requires enough material and a method for edges and vertical surfaces. Under-broadcast areas are difficult to correct once the base begins curing.
Cure time and jobsite conditions must be managed
DIY instructions specify temperature, humidity, recoat, walk-on, and drive-on windows. Deviating from them can leave the coating soft or poorly bonded. The floor and air may have different temperatures, and condensation can form near the dew point.
Professional installers should measure conditions and choose products suited to the schedule. DIY users need a stable weather window and a plan to keep people, pets, insects, leaves, and vehicles off the floor.
Safety includes dust, chemicals, ventilation, and disposal
Grinding concrete can expose workers to respirable silica dust. Coatings and cleaners have safety data sheets that specify gloves, eye protection, ventilation, and other precautions. Solvent-soaked materials and leftover mixed resin also require appropriate handling.
A homeowner should not assume “low odor” means no protective measures are needed. Read the SDS and label for every product and keep children and pets away until the specified cure and ventilation period is complete.
Cost comparisons should include tools, mistakes, and time
A retail kit price does not include degreaser, repairs, grinder rental, diamond tooling, vacuum, extension cords, rollers, squeegees, spiked shoes, extra chips, clear coat, disposal, and several days of labor. Those costs can narrow the gap.
Professional work includes labor and overhead but may also include stronger preparation, system design, and warranty. The least expensive route is not always the best value, but a simple DIY project can still be reasonable for the right slab and expectations.

Warranty and accountability differ
A DIY product warranty generally covers the product under specified conditions, and the homeowner is responsible for preparation and application. A professional warranty may include workmanship, but exclusions for moisture, cracks, chemicals, and abuse still apply.
Ask a contractor for written coverage and local references. For DIY, keep receipts, batch labels, photographs, and notes showing that instructions were followed.
Choose based on slab difficulty and desired result
DIY is most defensible for a small, sound, bare slab where the homeowner is comfortable with preparation and accepts a more modest finish. Professional installation becomes more attractive with old paint, oil, moisture risk, cracks, large square footage, fast return-to-service needs, or a high-end full-flake appearance.
Before choosing, obtain a detailed professional estimate and price the complete DIY process honestly. The comparison should include what happens if the first attempt fails and must be ground off.
Project checklist
A realistic DIY readiness checklist
- The floor is bare, sound, and free of unknown sealer or coating
- Oil and silicone contamination are limited and treatable
- You can obtain the required surface profile and control dust safely
- Repairs are minor and compatible with the coating
- Weather and slab temperature will remain within product limits
- You have enough help to mix, roll, edge, and broadcast on time
- You can keep vehicles and belongings out through full cure
Frequently asked questions
Questions homeowners often ask
Are DIY epoxy kits durable?
They can provide useful service when the slab is suitable and instructions are followed, but preparation, film build, product properties, and garage use strongly affect durability.
Why are professional garage coatings more expensive?
The price commonly includes mechanical preparation, commercial equipment, repairs, multiple layers, labor, dust control, material quantities, insurance, and warranty support.
Can I rent a grinder and do professional-level prep?
Possibly, but tooling selection, edge work, dust collection, electrical power, machine control, and contamination assessment require planning and experience.
Should I add a clear coat over a DIY epoxy kit?
Only if the base and clear products are compatible and the recoat instructions are followed. A clear coat does not correct weak preparation beneath the base.
Technical references and further reading
Product data sheets and the coating manufacturer’s current instructions control the final installation. These sources provide useful background for comparing proposals.